Documentation
App features, tools, and how to use TalabaKnow
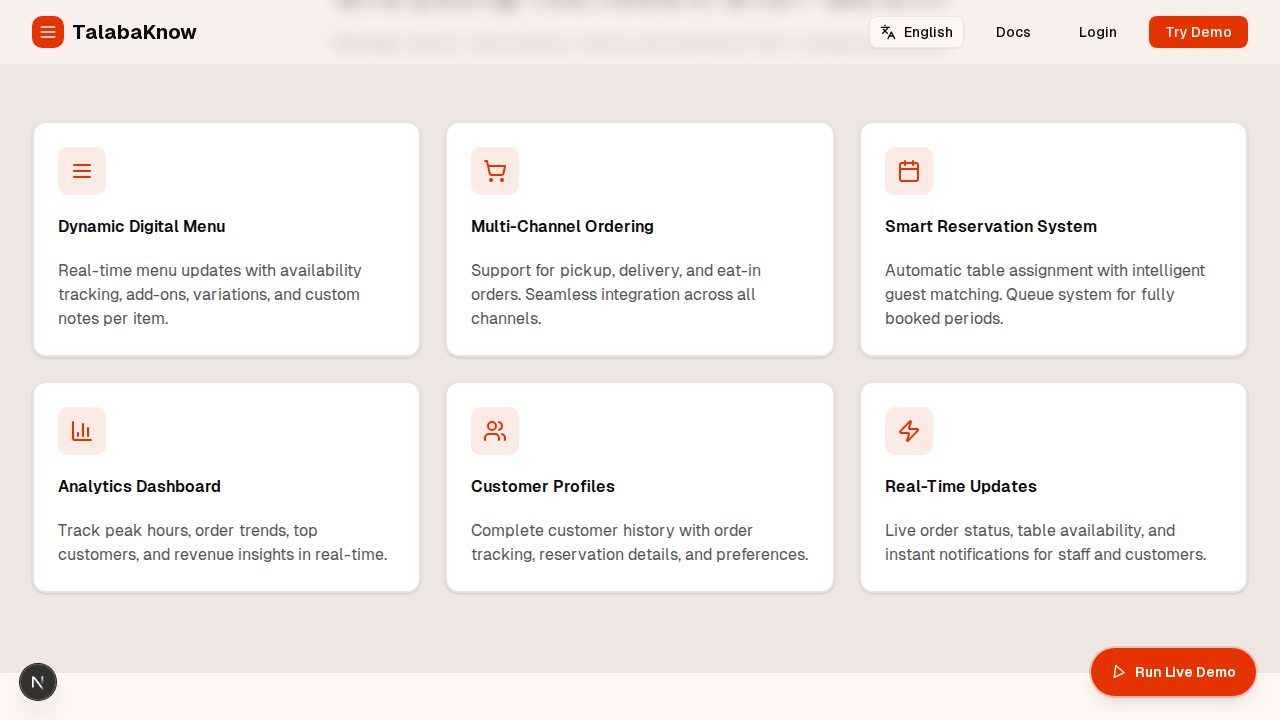
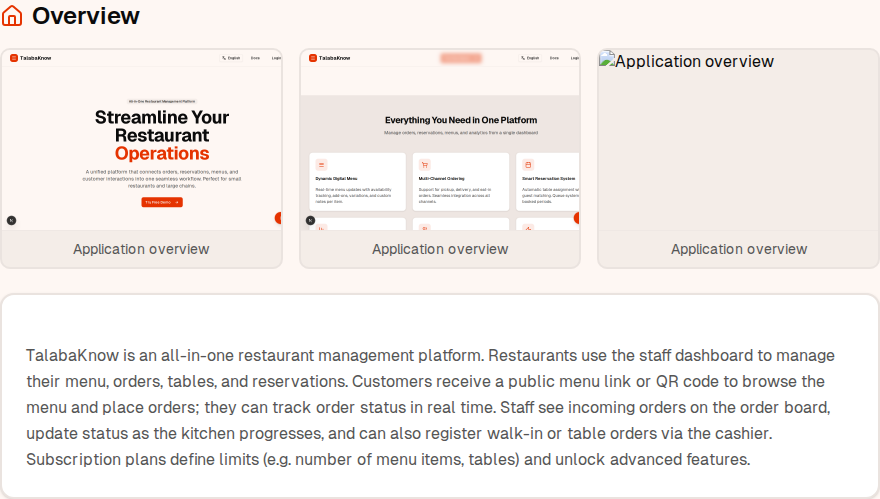
Overview
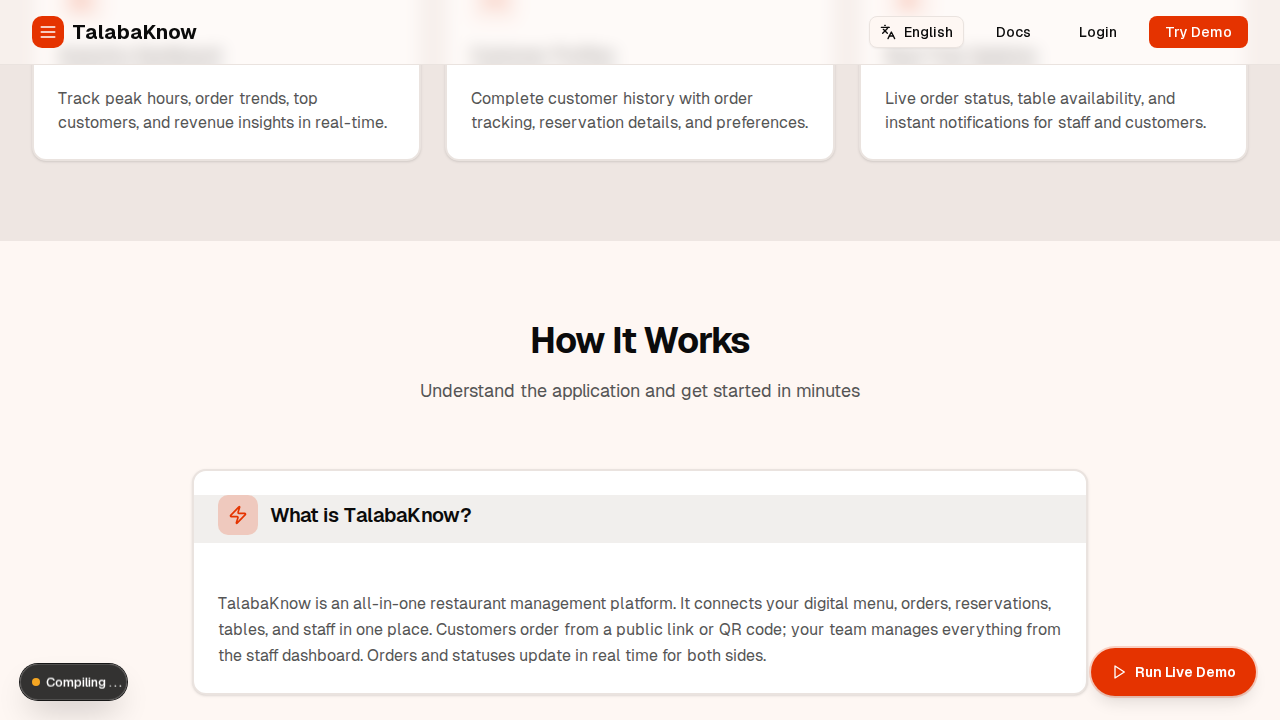
TalabaKnow is an all-in-one restaurant management platform. Restaurants use the staff dashboard to manage their menu, orders, tables, and reservations. Customers receive a public menu link or QR code to browse the menu and place orders; they can track order status in real time. Staff see incoming orders on the order board, update status as the kitchen progresses, and can also register walk-in or table orders via the cashier. Subscription plans define limits (e.g. number of menu items, tables) and unlock advanced features.
Order Flow
How an order moves from customer or cashier to the kitchen and back to the customer. All steps update in real time via DB realtime.
Full flow diagrams (Mermaid), cashier use case, role matrix, and improvement suggestions are in the project docs:
docs/ORDER_FLOW_DIAGRAM.md
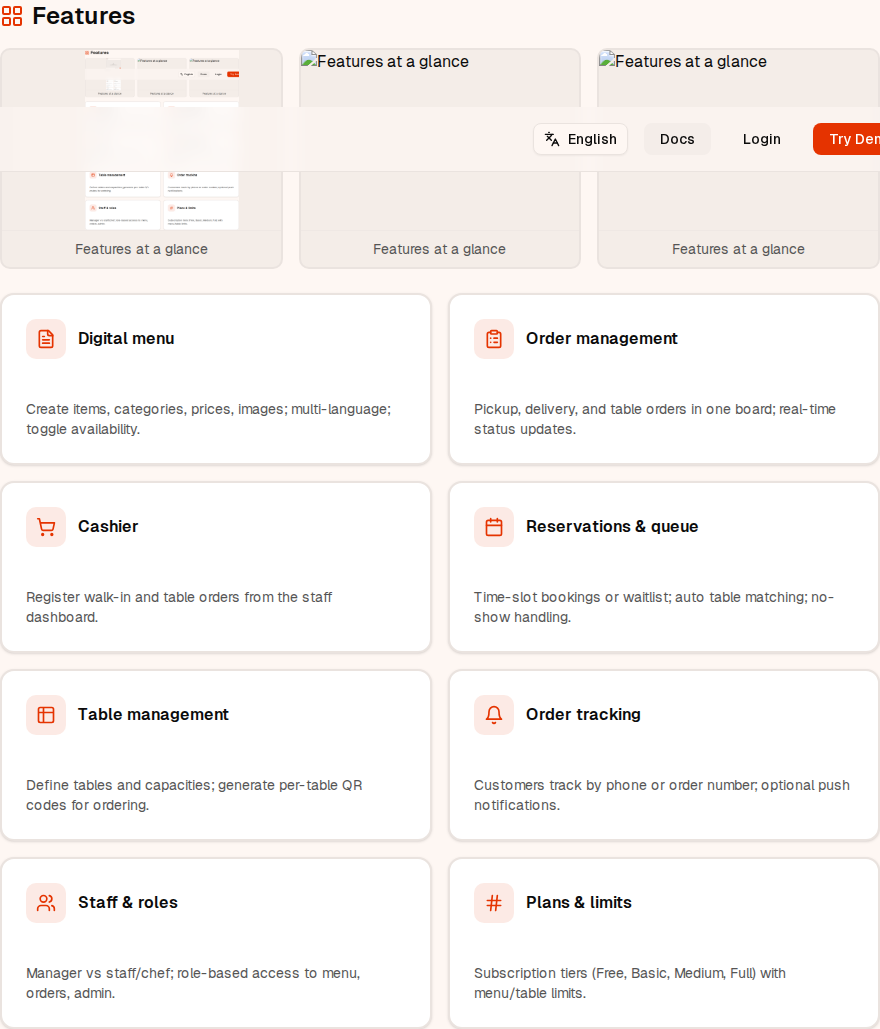
Features
Staff Dashboard
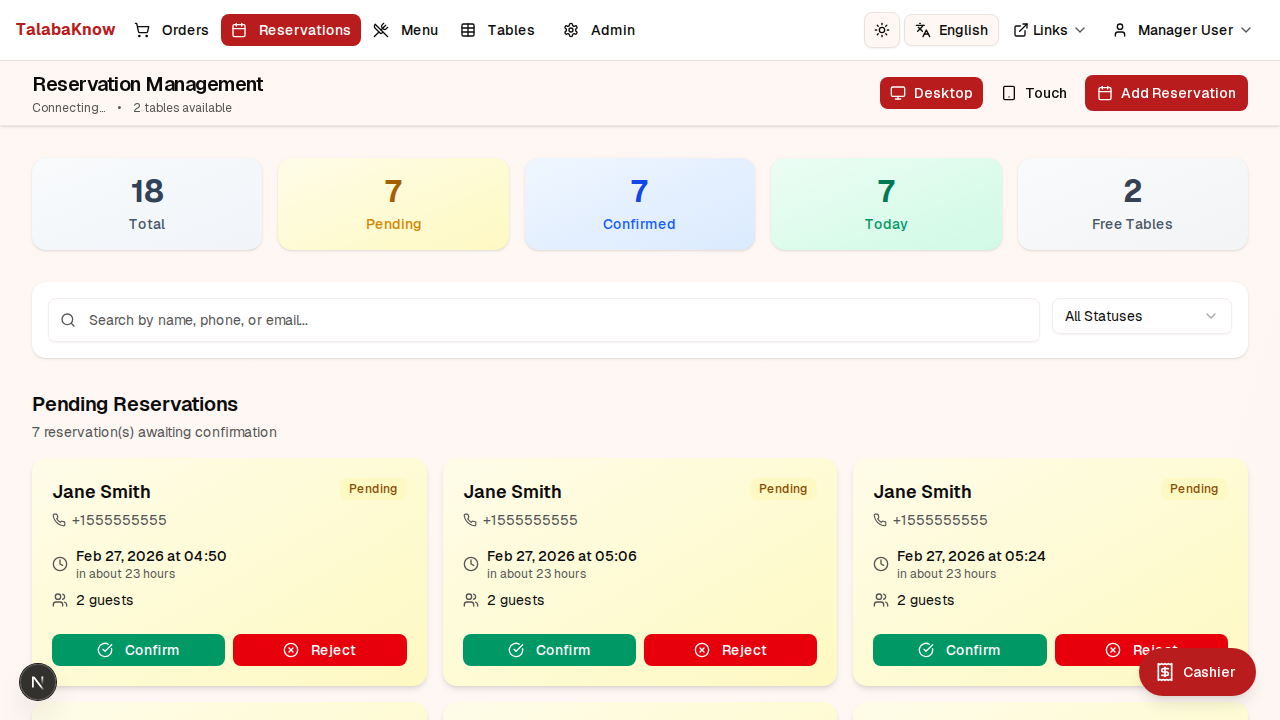
Log in at /staff/login. After login you see the sidebar: Orders, Menu, Tables, Reservations, Queue (if enabled), Staff, Admin (managers only), Profile.
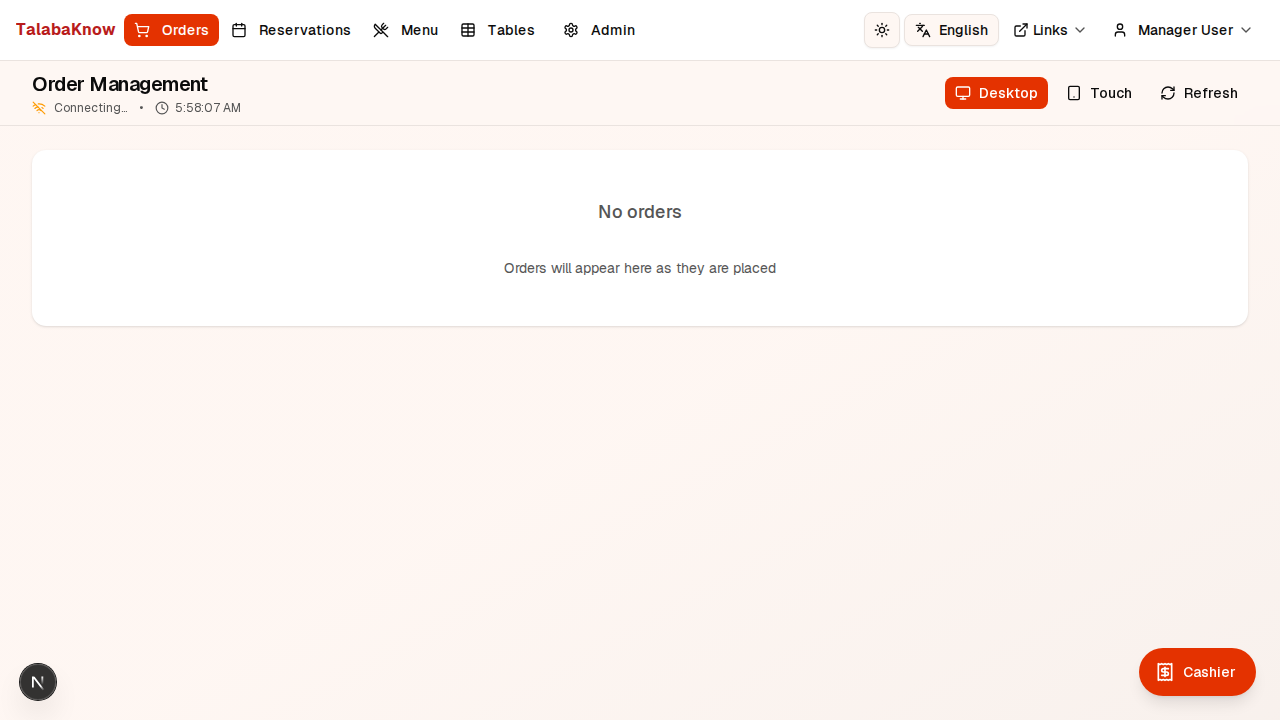
View all orders (pickup, delivery, table). Filter by status (pending, in process, ready, completed, cancelled) and order type. Orders update in real time.
How to use:
- Click an order to see details and update status (e.g. Pending → In process → Ready → Completed).
- Use New order / Cashier to create a walk-in or table order: select type (pickup/delivery/table), add items, choose table if needed, submit.
- Search by customer name, phone, or table number.
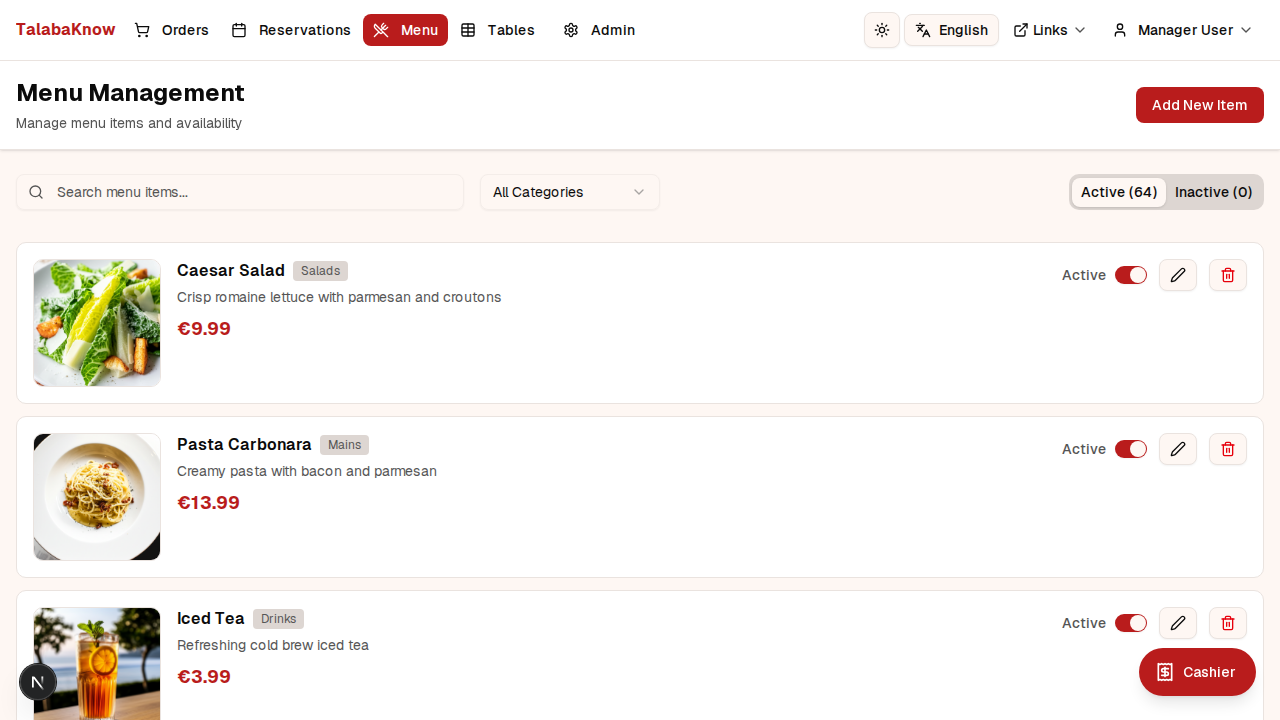
Manage menu items (managers and chefs). Your plan limits how many items you can add (e.g. Free: 50, Basic+: unlimited).
How to use:
- Add item: Click Add new item, enter name, description, price, category; save. Image is optional.
- Edit: Click an item to edit name, price, category, or image.
- Active/Inactive: Toggle to hide items from the public menu without deleting.
- Use tabs to filter Active vs Inactive items and search by name or category.
Define tables and capacities. Generate QR codes so guests can open the menu and order at their table. Table count is limited by your subscription plan.
How to use:
- Add table: (Managers) Click Add table, enter table number and capacity; save. A QR code is generated automatically.
- Download or print QR codes and place them on tables. Scanning opens the public menu for that table.
- Edit or deactivate tables as needed. Table status (free, reserved, occupied, ordered) updates from orders and reservations.
Manage bookings (time-slot or queue mode). Configure method and working hours in Reservation settings.
How to use:
- Create a reservation: guest name, phone, date/time, party size; optionally assign a table.
- Update status: pending → confirmed → arrived → seated → completed (or cancelled / no-show).
- In queue mode: manage waitlist (waiting, notified, seated, etc.) and assign tables when ready.
- Use Reservation settings to set time slots, working hours, closed days, and queue options.
Shown when reservation method is "Queue". Manage the waitlist and notify guests when a table is ready.
How to use:
- View waiting, notified, and seated entries. Assign a table to seat a party.
- Mark no-shows or cancel entries as needed.
Invite staff and assign roles (manager, staff, chef). Only managers can access Admin and Staff pages.
How to use:
- Add staff by email; set role. They receive login instructions.
- Edit or remove staff as needed.
Restaurant profile, public menu link, branding, reservation method, working hours, and subscription plan.
How to use:
- Profile: Name, slug, currency, phone, address, logo, primary/secondary colors.
- Public menu: Generate or copy the public menu URL and QR code to share with customers.
- Reservation method: Time-slot or Queue; set working hours and closed days.
- Subscription: View or change plan (if your organization uses plans).
View and edit your account (name, password). Log out from the user menu in the header.
Customer Flows
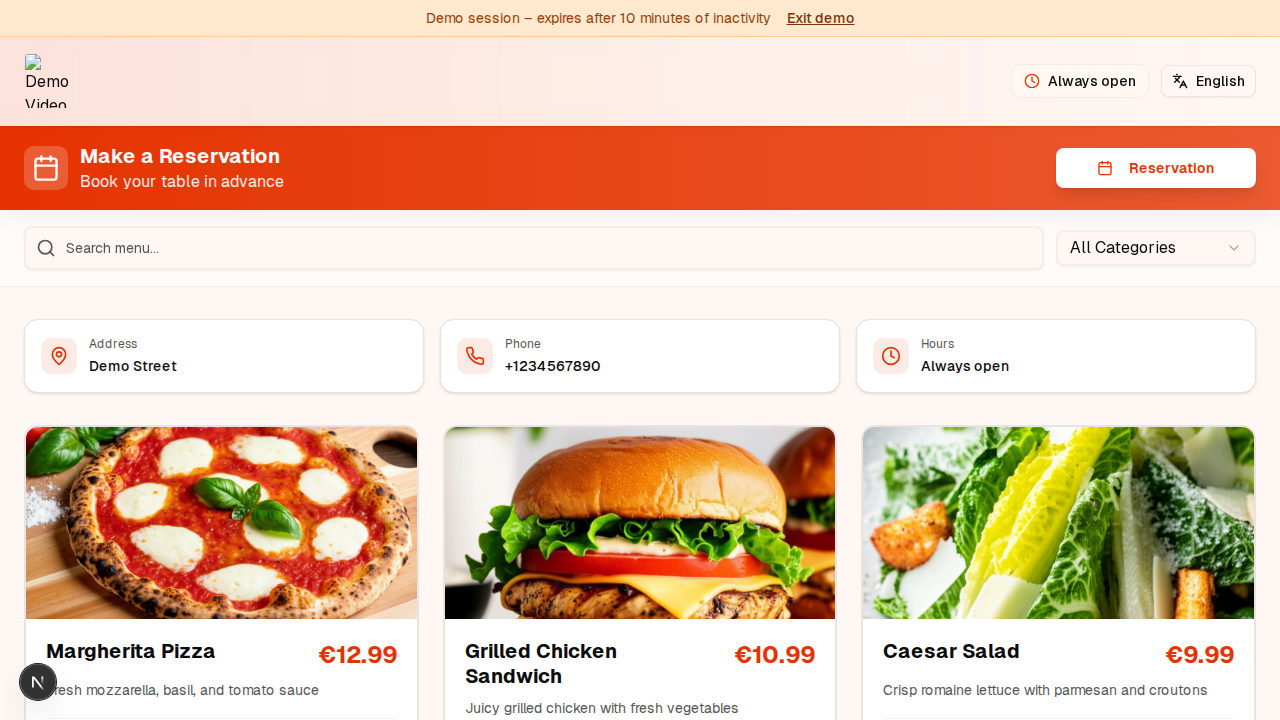
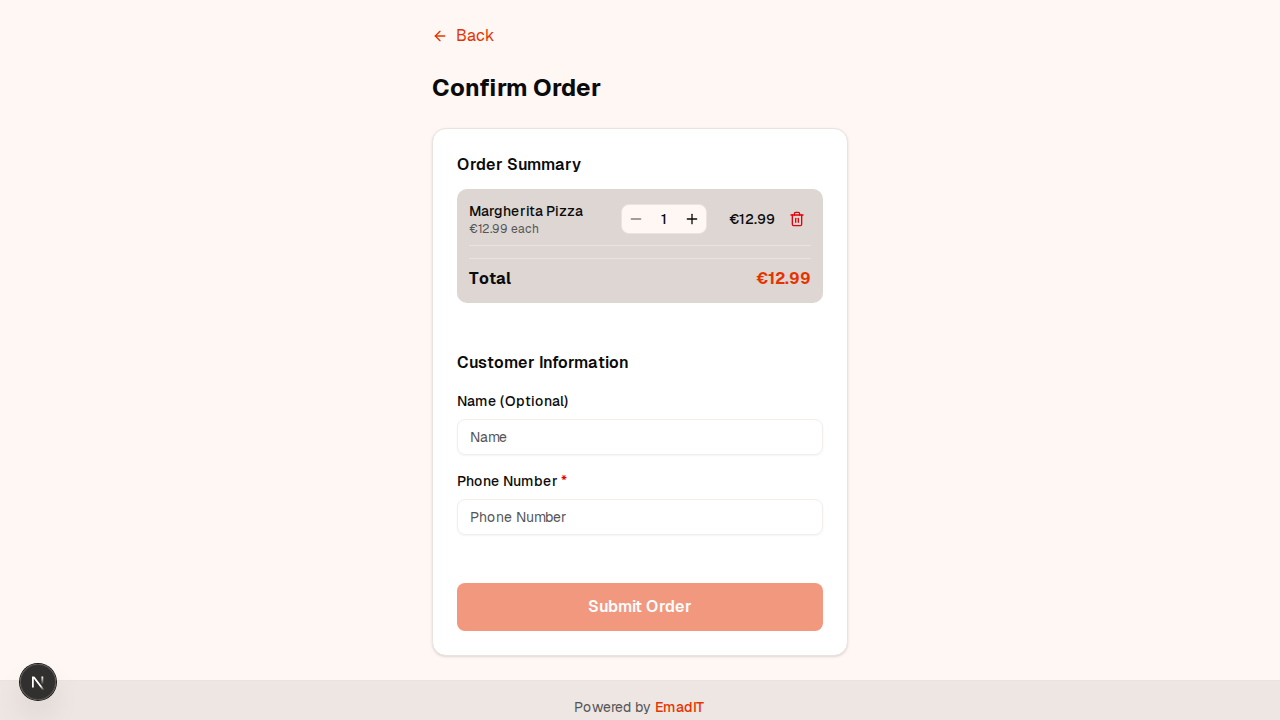
Public menu
Customers open the link or scan the QR code (from the restaurant). They see the digital menu, add items to the cart, and go to checkout. They enter name and phone (and optionally table number if dining in). After placing the order they get an order number and can track status.
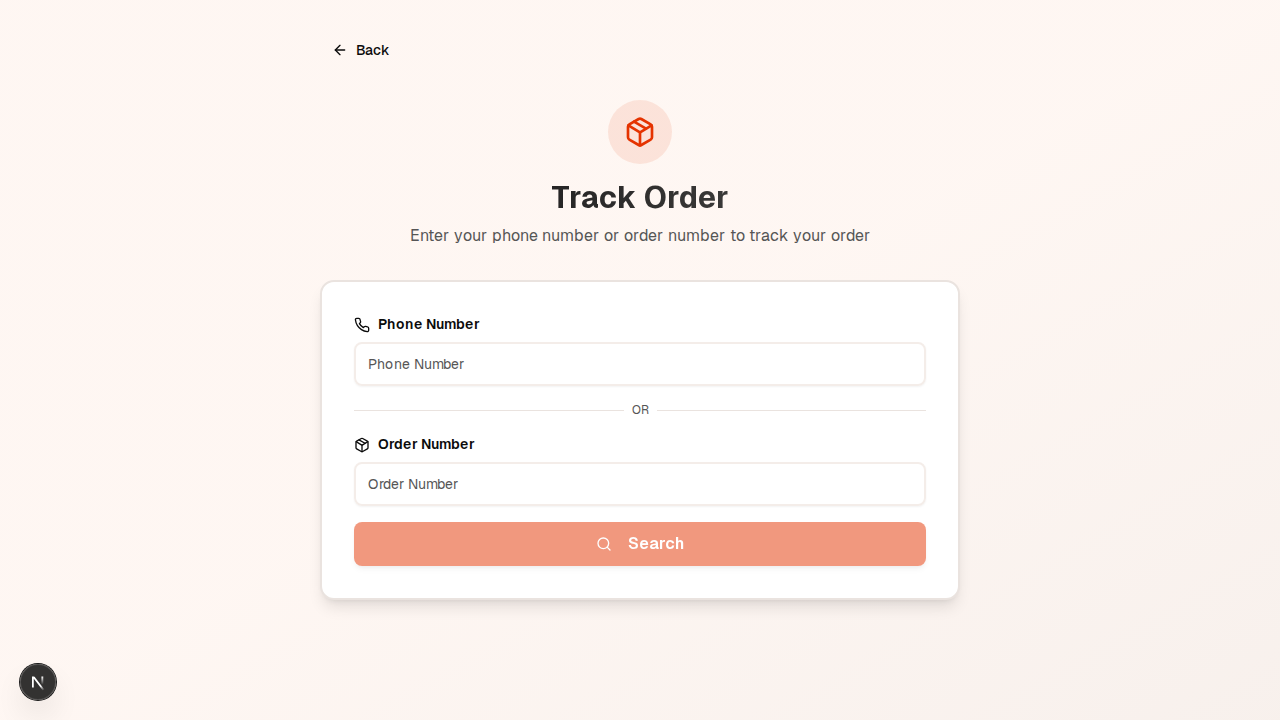
Order tracking
On the tracking page, customers enter their phone number or order number to see their order status (pending → in process → ready → completed). They can allow push notifications to be notified when status changes.
Reservations (if enabled)
Customers can book a time slot (or join a queue) from the reservation flow linked from the menu or shared by the restaurant.
Subscription & Plans


Plans (e.g. Free, Basic, Medium, Full Coverage) define limits and features. Typical limits:
- Free: Limited menu items (e.g. 50) and tables (e.g. 5).
- Basic: More tables (e.g. 15), unlimited menu items; logo and brand colors.
- Medium: More tables (e.g. 25); reservations; AI WhatsApp features (if enabled).
- Full: Unlimited tables and menu items; advanced features (cashier, payments, integrations, etc.).
When you hit a limit (e.g. menu items or tables), the Add button is disabled and you'll see a message to upgrade. Admins can assign or change a restaurant's plan from the admin dashboard.